Cart
0 Items in cart Subtotal: $0.00
Find the answers you need to commonly asked questions.
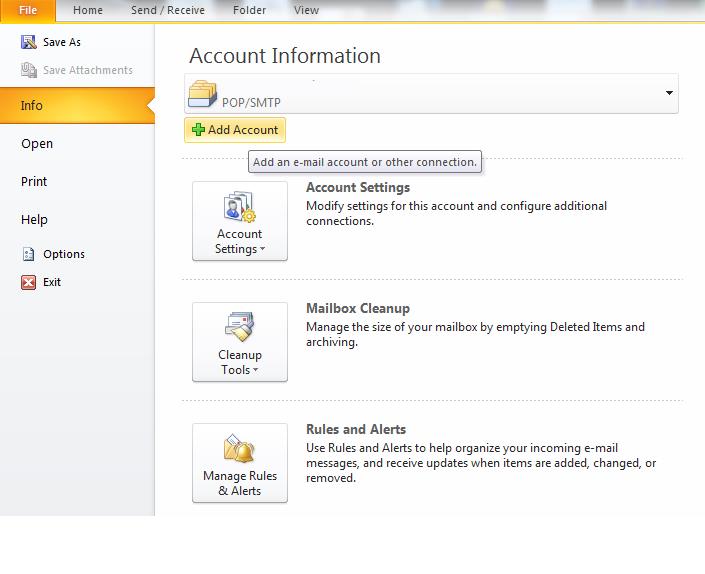
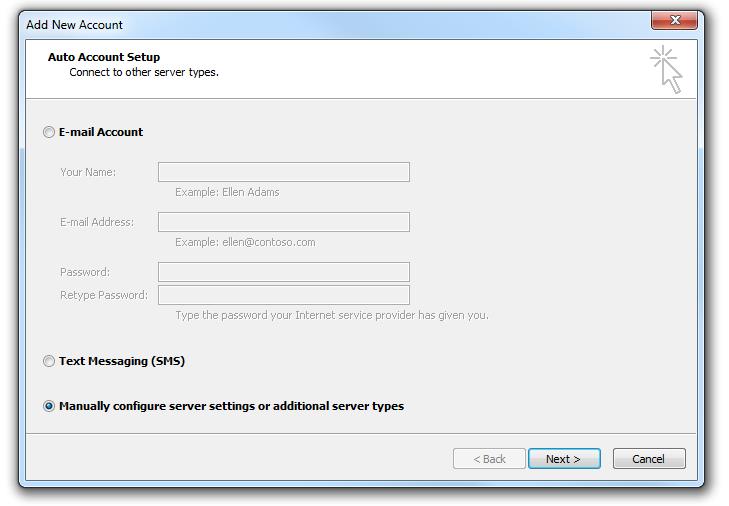
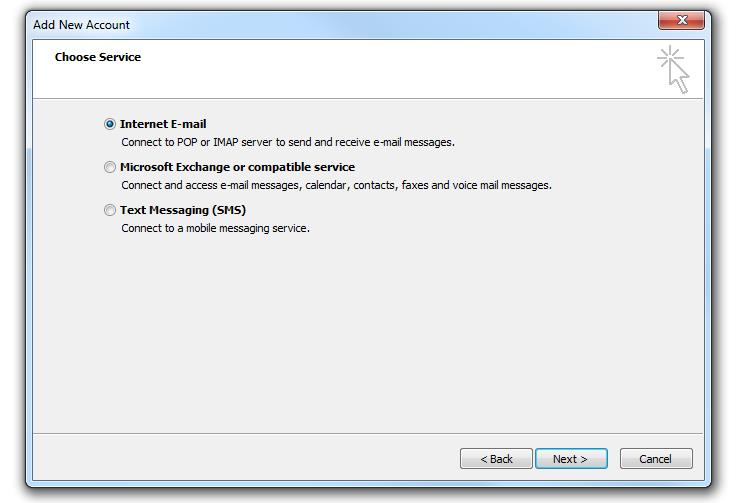
For a quick guide to setting up your e-mail account, click here . Need a bit more help? Never fear, we’ve got you covered! Read on for a step-by-step guide (with screenshots!) on setting up your Directnic Email account in Outlook 2010.
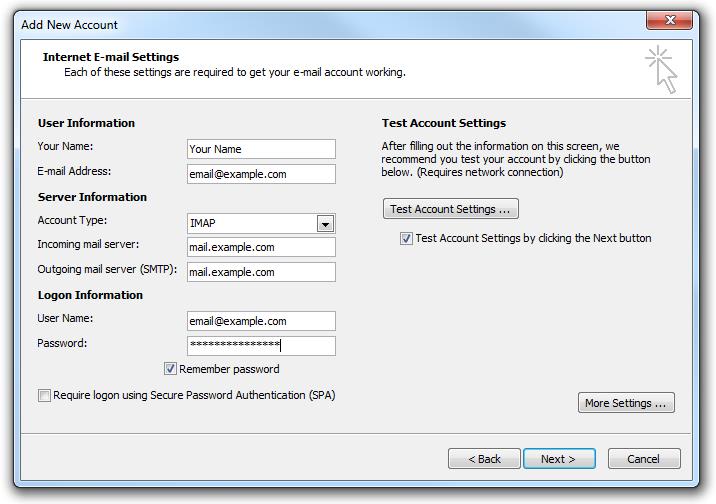
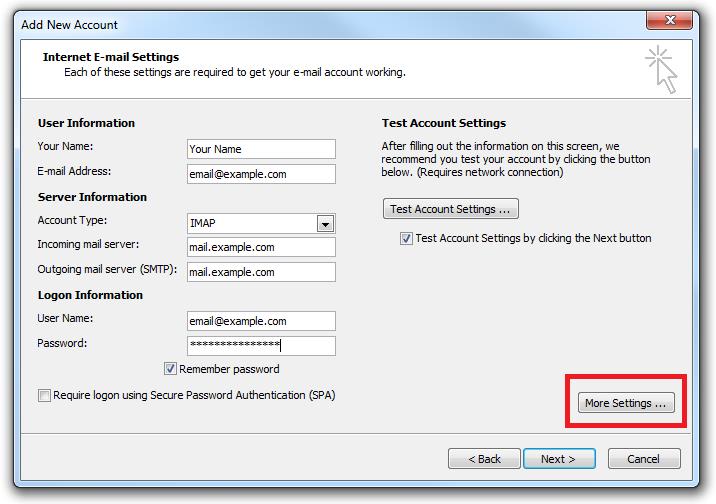
Incoming and Outgoing Server Name: mail.yourdomain.com OR webXXX.dnchosting.com, replacing the XXX with the server that your mail is being hosted on. To find this information, log in to your Directnic Account Dashboard, navigate to My Services, select Hosting and click on the domain name that you are looking to check the server name for. These can be used interchangeably. The same server name will be used for both incoming and outgoing server names.
Account Type: Directnic Hosting and Email plans support both POP and IMAP connections for incoming mail.
Username: Your complete e-mail address
Password: The password you created when you created the Email Account. Please note that this is not necessarily the same as your Directnic Dashboard or Directnic Hosting Console password.
Secure Password Authentication (SPA): SPA should remain unchecked.
Port Numbers: Incoming (POP): 110, Incoming (IMAP): 143, Outgoing (SMTP): 25 or 26
SSL should be set to “off” and authentication to “password” if prompted.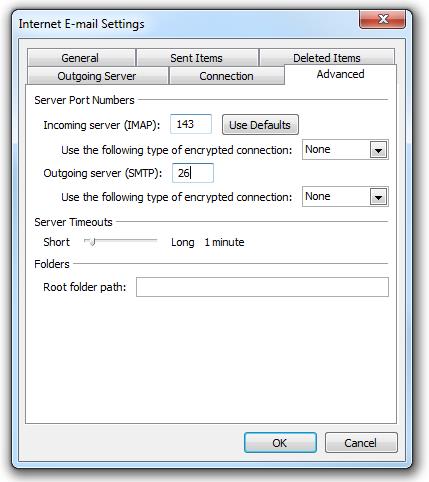

See Also:
Not finding what you need? Suggest a Question for the FAQ
Please select the topic and type your suggestion in the "Suggestion" field. When you are finished, click the "Submit" button. Suggestions are sent to our editing staff. If you need to contact our support staff, please use the Trouble Ticket System.
Suggestions can not be replied to. Questions regarding your account should be submitted to Directnic customer support via a Trouble Ticket. If you need an answer to your inquiry, please submit a Trouble Ticket to our support staff.